Ultimate Guide to Inventory Source
Chapter 5: Pending Integrations

Understanding Pending Integrations
The “Pending Integrations” tab populates all of the current integrations you have that are in onboarding. These integrations are not active and will remain inactive until Step 5 of the onboarding process is completed. Steps 1-4 deal with you providing credentials of your reseller account, connecting your sales platform/channel, and managing your Store Catalog. Once these have been completed and verified, Step 5 will populate and allow you to begin pushing products to your active website.
When an integration is progressing normally, step 1 and 2 will be accepted almost instantly. The steps in general should serve as checkpoints for the development of your online website.
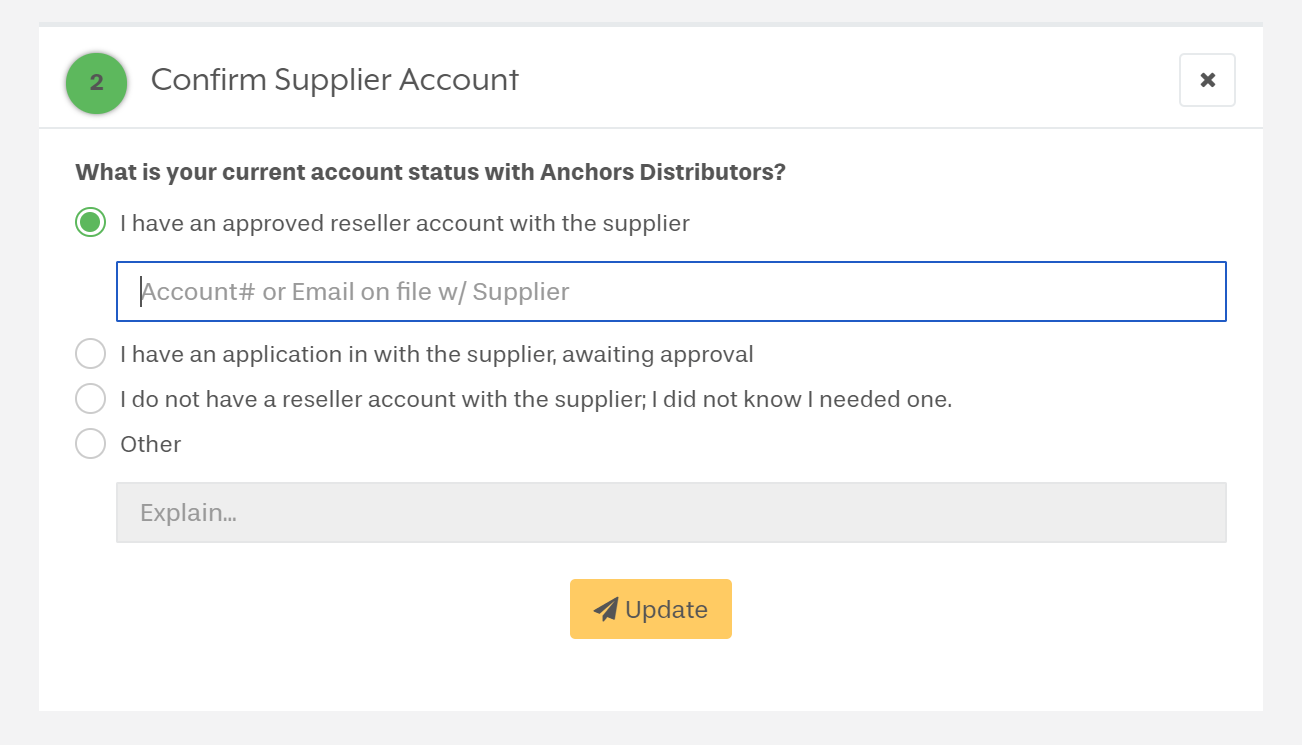
For example, the first question will ask you about your reseller account with your selected supplier.
You can select “No I do not have a reseller account” “Yes I do have a reseller account,” or “I have a reseller account that is currently awaiting approval.” You will need an approved account from the supplier to start selling their products. In instances where you do not have a reseller account already, we provide a link to the suppliers website in the “Supplier Directory” tab.
The third dot will be the most contentious and requires the most attention. If you’re able to provide your working credentials, you can have the third step progress quickly.
This is also where you choose if you would like to employ a SKU prefix for your integrations. The SKU prefix allows us to avoid overwriting data on your site that is already present for the same supplier and may have the same SKU. Also, it gives an obvious notation of where each product was sourced from.
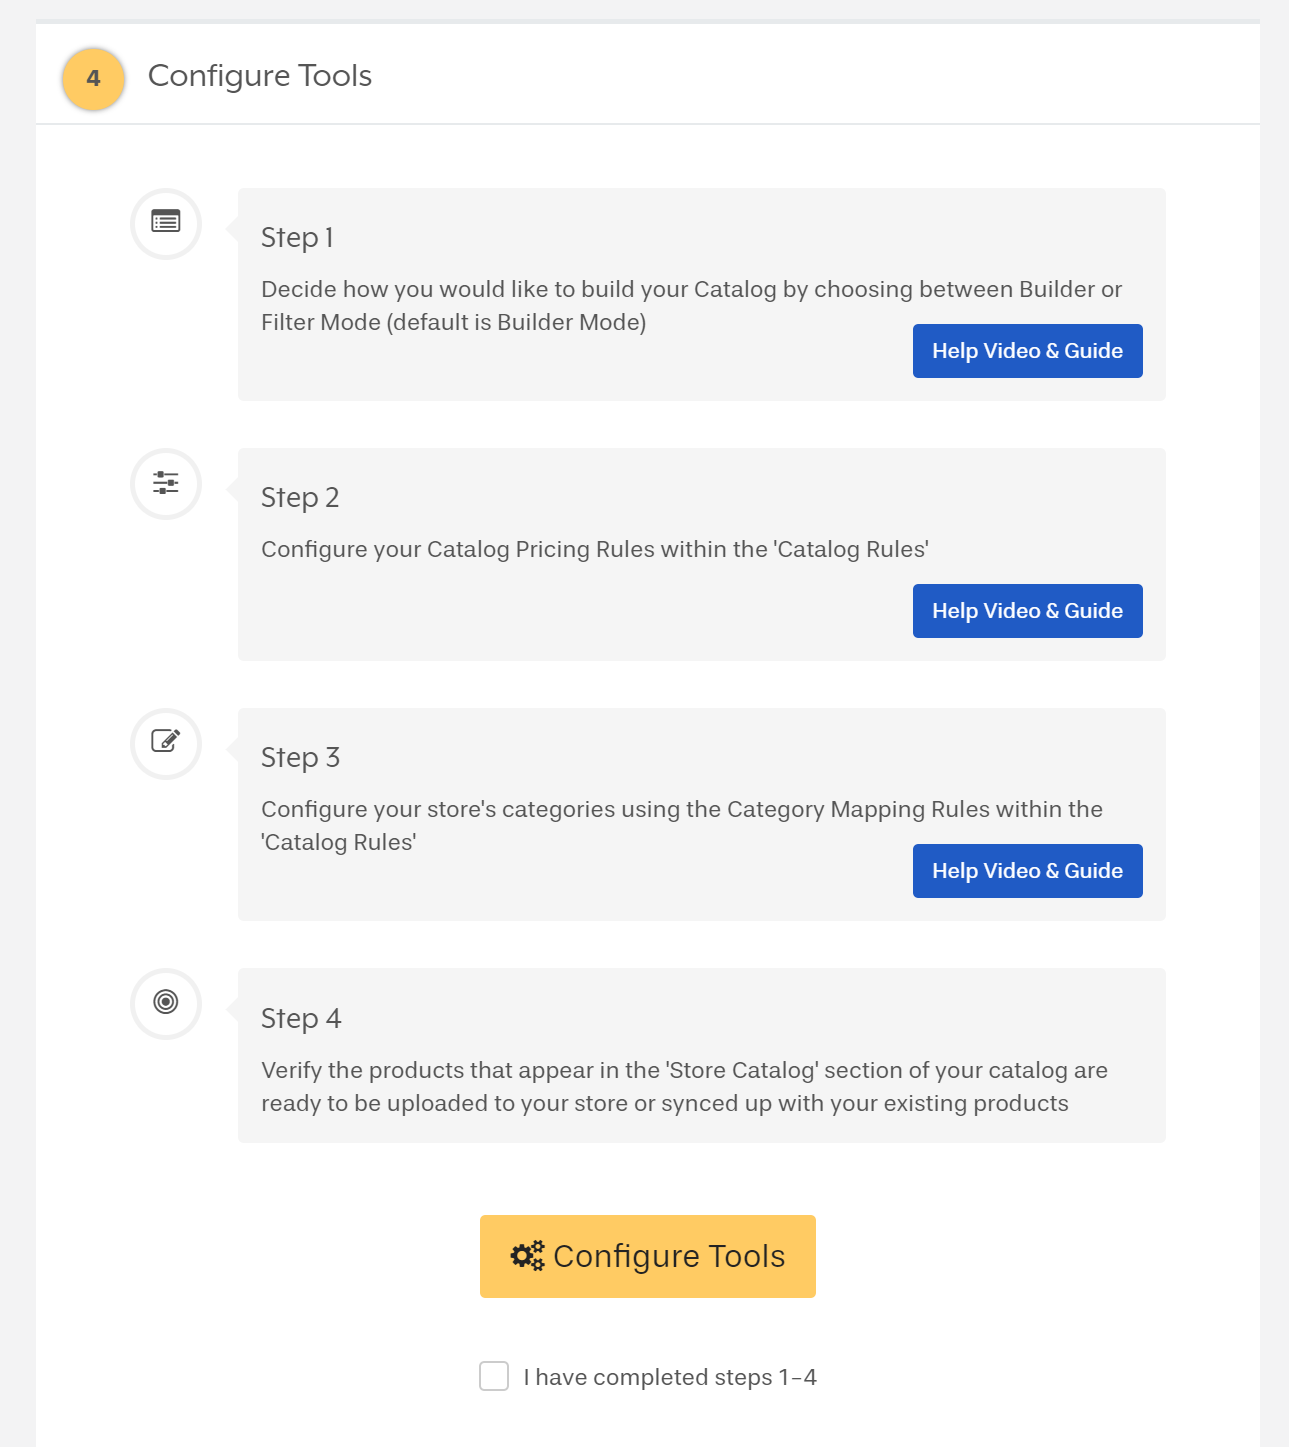
After the difficult part is handled, Step 4 is relatively straight forward. You must configure the settings for your IS Dashboard. Builder/Filter mode, configure your pricing settings, configure your category settings, and push at least one product from your Supplier Feed to your Store Catalog.
Clicking any of the corresponding blue buttons for sub steps 1-4 will take you to a video that helps explain the differences in the settings.
When these are configured, click the small box under “Configure tools” and then click “Next”.
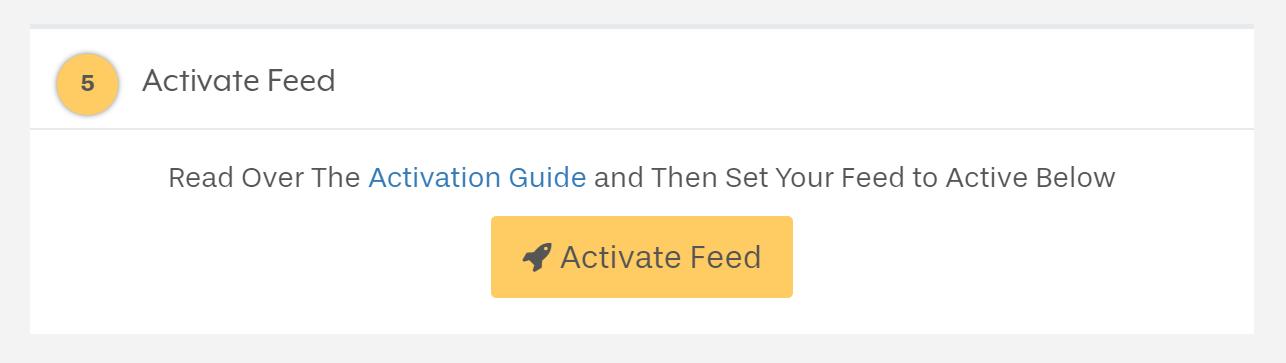
Once step 4 is complete, step 5 will populate and allow you to activate your feed. Step 5 will immediately begin a sync to your platform, pushing whatever products and whatever product rules were set in the previous 4 steps.
While problems resulting from activating the feed “too early” can be solved rather quickly, it’s in our and your best interest to be fully prepared when you complete step 5.
Chapter List
Chapter 1:
Getting Started
Chapter 2:
Add Integration
Chapter 3:
Supplier Directory
Chapter 4: